Computer Envelope Simulation of Hob Hobbing Process
Hobbing is one of the common methods of gear machining. The correctness of hob design is an important prerequisite for ensuring the correct tooth shape of the gear being machined. The tooth shape of the shave hob (with lobes and trim edges) is more complex and prone to design errors, resulting in tool rework or even scrap, affecting normal gear production. If the computer is used to simulate the gear hob after design, the correctness of the hob tooth design can be verified.
1. Hob simulation processing principle
The principle of hob machining gears is the exhibition method. In fact, in the section of the shaft of the gear, the process of cutting the gear by the hob cutter can be regarded approximately as the process of the rack-cut gear, that is, the tooth shape of the processed gear is the tooth profile of the rack (cutting knife teeth) on both sides. The envelope curve of the line. The meshing relationship between the rack and the gear can be represented by Fig. 1. The following coordinate system can be established from the diagram: P-xyz is the coordinate system fixed to the frame, and O2-x2y2z2 is the coordinate system fixed to the gear, O1 -x1y1z1 is the coordinate system fixed to the hob (P point is the meshing node, O2 is the gear center point, and r2 is the gear mesh pitch circle radius).

Figure 1 Coordinate system of meshing gear with rack
In the hob moving coordinate system O1-x1y1z1, if the distance L is moved, the φ2 angle is relatively rotated in the gear coordinate system O2-x2y2z2. Since the meshing relationship between the two pure scrolls is φ2=L/r2, therefore, when When the L value is different, the hob tooth profile will occupy a different position in the gear coordinate system, forming a straight line family. In the gear coordinate system, the envelope of this straight line family is the tooth profile of the processed gear. Since the forming process of the linear family is the hobbing process of the hob, the hobbing process can be simulated using the forming process of the linear family, and the tooth profile of the processed gear can be inspected with the envelope of the straight family.
From the coordinate transformation relationship, we know that the transformation relation between the coordinate system O1-x1y1z1 and the coordinate system O2-x2y2z2 is:
 (1)
(1) From the above relation formula, if the coordinates of each point of the hob tooth shape are known, the coordinate value of the tooth shape in the gear coordinate system can be calculated. Take the shave hob as an example to introduce the hobbing simulation process.
2. Computer simulation processing
FIG. 2 is a schematic diagram of a tooth shape of a shave hob. As shown on the left, the basic tooth shape is AB, the edge tooth shape is BC, and the obround tooth shapes are AD and DE. The right basic tooth shape is A'B', the trimmed tooth shape is B'C', and the obround tooth shapes are A'D' and D'E'. Since each segment is a straight line, the equations for each segment of the tooth profile can be determined by simply finding the coordinates of each point. The coordinates of each point given by the parameters of the hob tooth profile are xA=hAtgα, yA=hA
xB=(h-LZcosα)tgα,yB=h-LZcosα
xC=htgα-HtgαX+LZcosα(tgαX-tgα), yC=hH
xD=hAtgα+(hD-hA)tgαT,yD=hD
xE=hAtgα+(hD-hA)tgαT+(h-hD)tgα,yE=h
xA′=S-hAtgα,yA′=hA′
xB′=S+(LYcosα-h)tgα,yB′=h-LYcosα

Figure 2 Hob tooth profile
xC′=S-htgα+HtgαX+LYcosα(tgαX-tgα),yC′=-hH
xD′=hAtgα-(hD-hA)tgαT,yD′=hD
xE′=hAtgα-(hD-hA)tgαT-(h-hD)tgα,yE′=h
By substituting the coordinates of each point into equation (1), the coordinates of each endpoint of the hob tooth in the coordinate system of the gears can be obtained, and the points are connected, that is, the hob blade tooth profile in the gear coordinate system. If the value of φ2 in the coordinate transformation formula (1) is recursively within a certain range in a certain step, the tooth profile curve family of the hob edge can be obtained in the gear coordinate system, and the tooth profile family is enveloped. , you can get the gear tooth shape machined by the hob.
It is easy to use the computer to perform the above transformation. Firstly, the BASIC language with strong calculation function is used to perform the coordinate transformation calculation of each tooth end point, and the coordinate data files of each point are stored. Then, with the support of AutoCAD software, the AutoLisp drawing program is compiled on the screen. Draw a tooth curve family, see Figure 3. Since only a complete profile of the envelope can be obtained, the range of φ2 should be from the start of the left edge cutting to the end of the right edge cutting. Another factor that determines the accuracy of the tooth profile envelope is the step size at which φ2 cycles through the interval. When the step size is small, a high envelope accuracy can be obtained. Therefore, a smaller step size can be used when verifying the tooth profile angle and the gauge size of the hob tooth profile, but at this time, the calculation data is more and the envelop diagram is drawn. The speed is slower and the machine occupies a large amount of memory. When the step size is large, although the envelope accuracy is poor, the drawing speed is fast, and the tooth surface roughness analysis of the gear after rolling can be performed.

Figure 3 Hob tooth profile family and envelope
3. Gear tooth shape inspection and machining error analysis
(1) Inspection of gear tooth profile to be processed In the actual gear tooth profile inspection, it is difficult to obtain the envelope equation of the hob-shaped curve family, so we will draw the gear tooth profile through the program on the screen, through the gear The tooth profile is matched to the curve family to verify the tooth profile. If the given φ2 step is small, the gear tooth profile fits well with the simulated hob tooth curve family.
(2) Analysis of processing error of machined gear tooth surface To ensure the correct gear tooth profile, if the machine tool speed is given according to the process, the step length of φ2 is determined, that is, a single tooth hob is cut out in strict accordance with the actual processing. The value of the number of knives cut to φ2 (in this case, the step size of φ2 is generally larger), the tooth surface roughness analysis can be performed on the screen through the AutoCAD local visual function, as shown in FIG. 4 . The size of the flank of the tooth surface can be measured on the screen to verify the correctness of the process parameters.

Figure 4 Microscopic view of the tooth surface of the machining gear
(3) Verification of non-involute hob design tooth profile The design of the non-involute tooth profile gear hob can also be verified by this simulation method. That is, the hob tooth profile is evenly divided on the tooth height, and each tooth is extracted. Equilibrium, then use this method. The more you divide the teeth of the hob, the more accurate it is. Conversely, it is also possible to design a non-involute hob with known gear non-involute tooth forms, which can be used as a graphic method for hob designs.
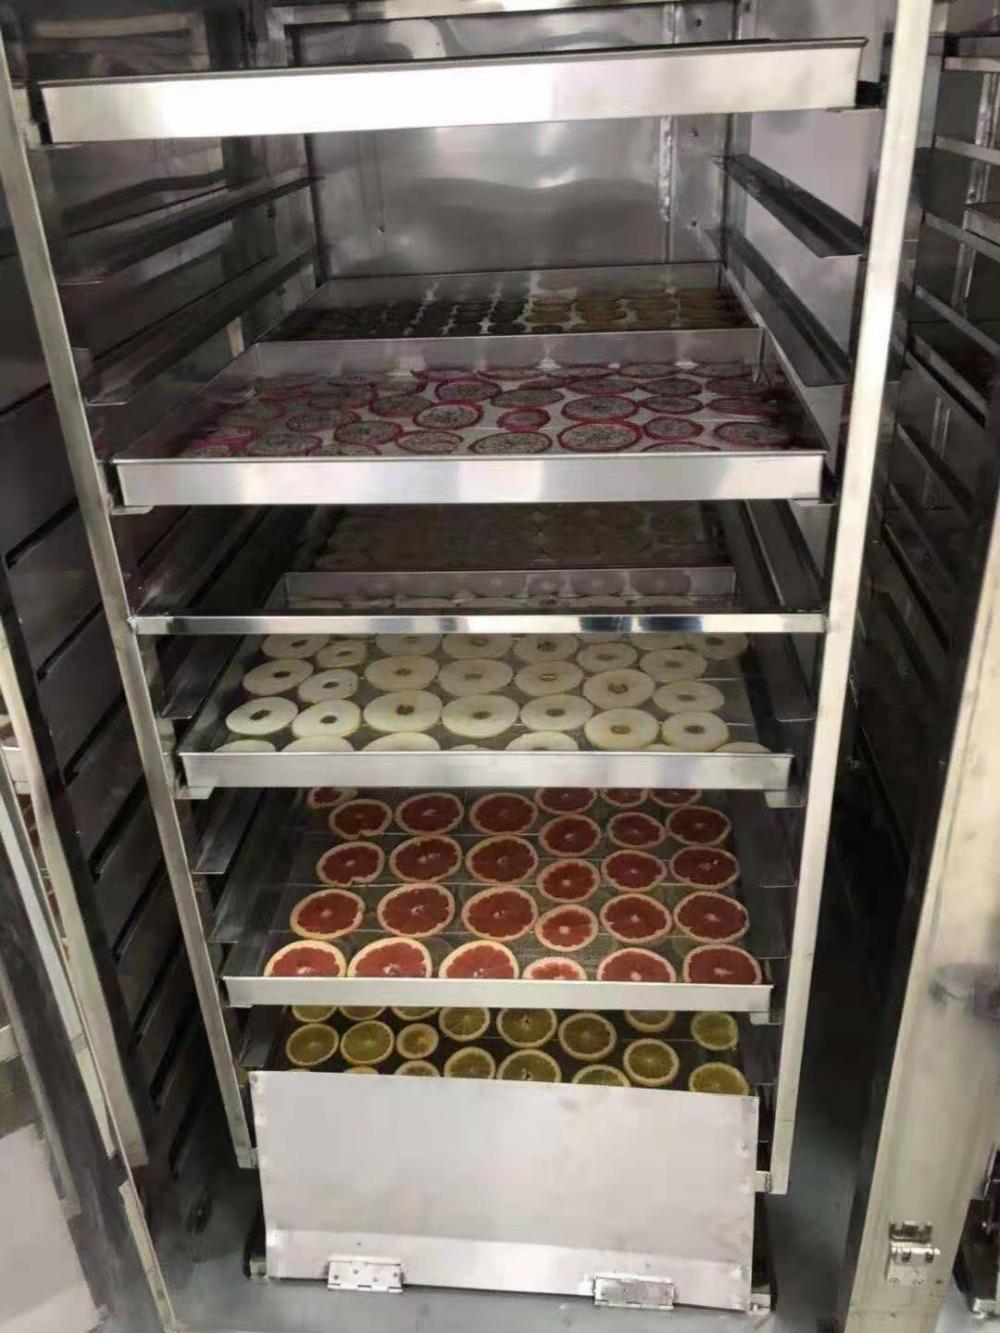
Food drying equipment can dry different fruits, vegetables and seafood, etc., can also be used in pharmaceutical, chemical, light industry, heavy industry and other industries of materials and products of heating curing, drying dehydration. For example, raw materials, Chinese medicine, Chinese medicine yinpian, extract, powder, granule, infusion, water pill, packaging bottle, pigment, dye, dehydrated vegetables, dried melon and fruit, sausage, plastic resin and so on
In addition we also have other machine for u choose ,such as Powder Pulverizer ,powder mixer,Capsule Filling Machine ,Capsule Counting Machine ,capsule Polishing Machine,tablet press and Granulator etc


Food Dry Equipment,Industrial Food Drying,Food Drying Machine,Food Dehydrator
Jiangyin yongchang medicine machinery co,.ltd , https://www.ycgrinderline.com